Backsplash Installation
Here In Dallas, TX Our vision is to create homes that embody
not just aesthetics but the very essence of quality living.
Best of the best works you'll ever see.
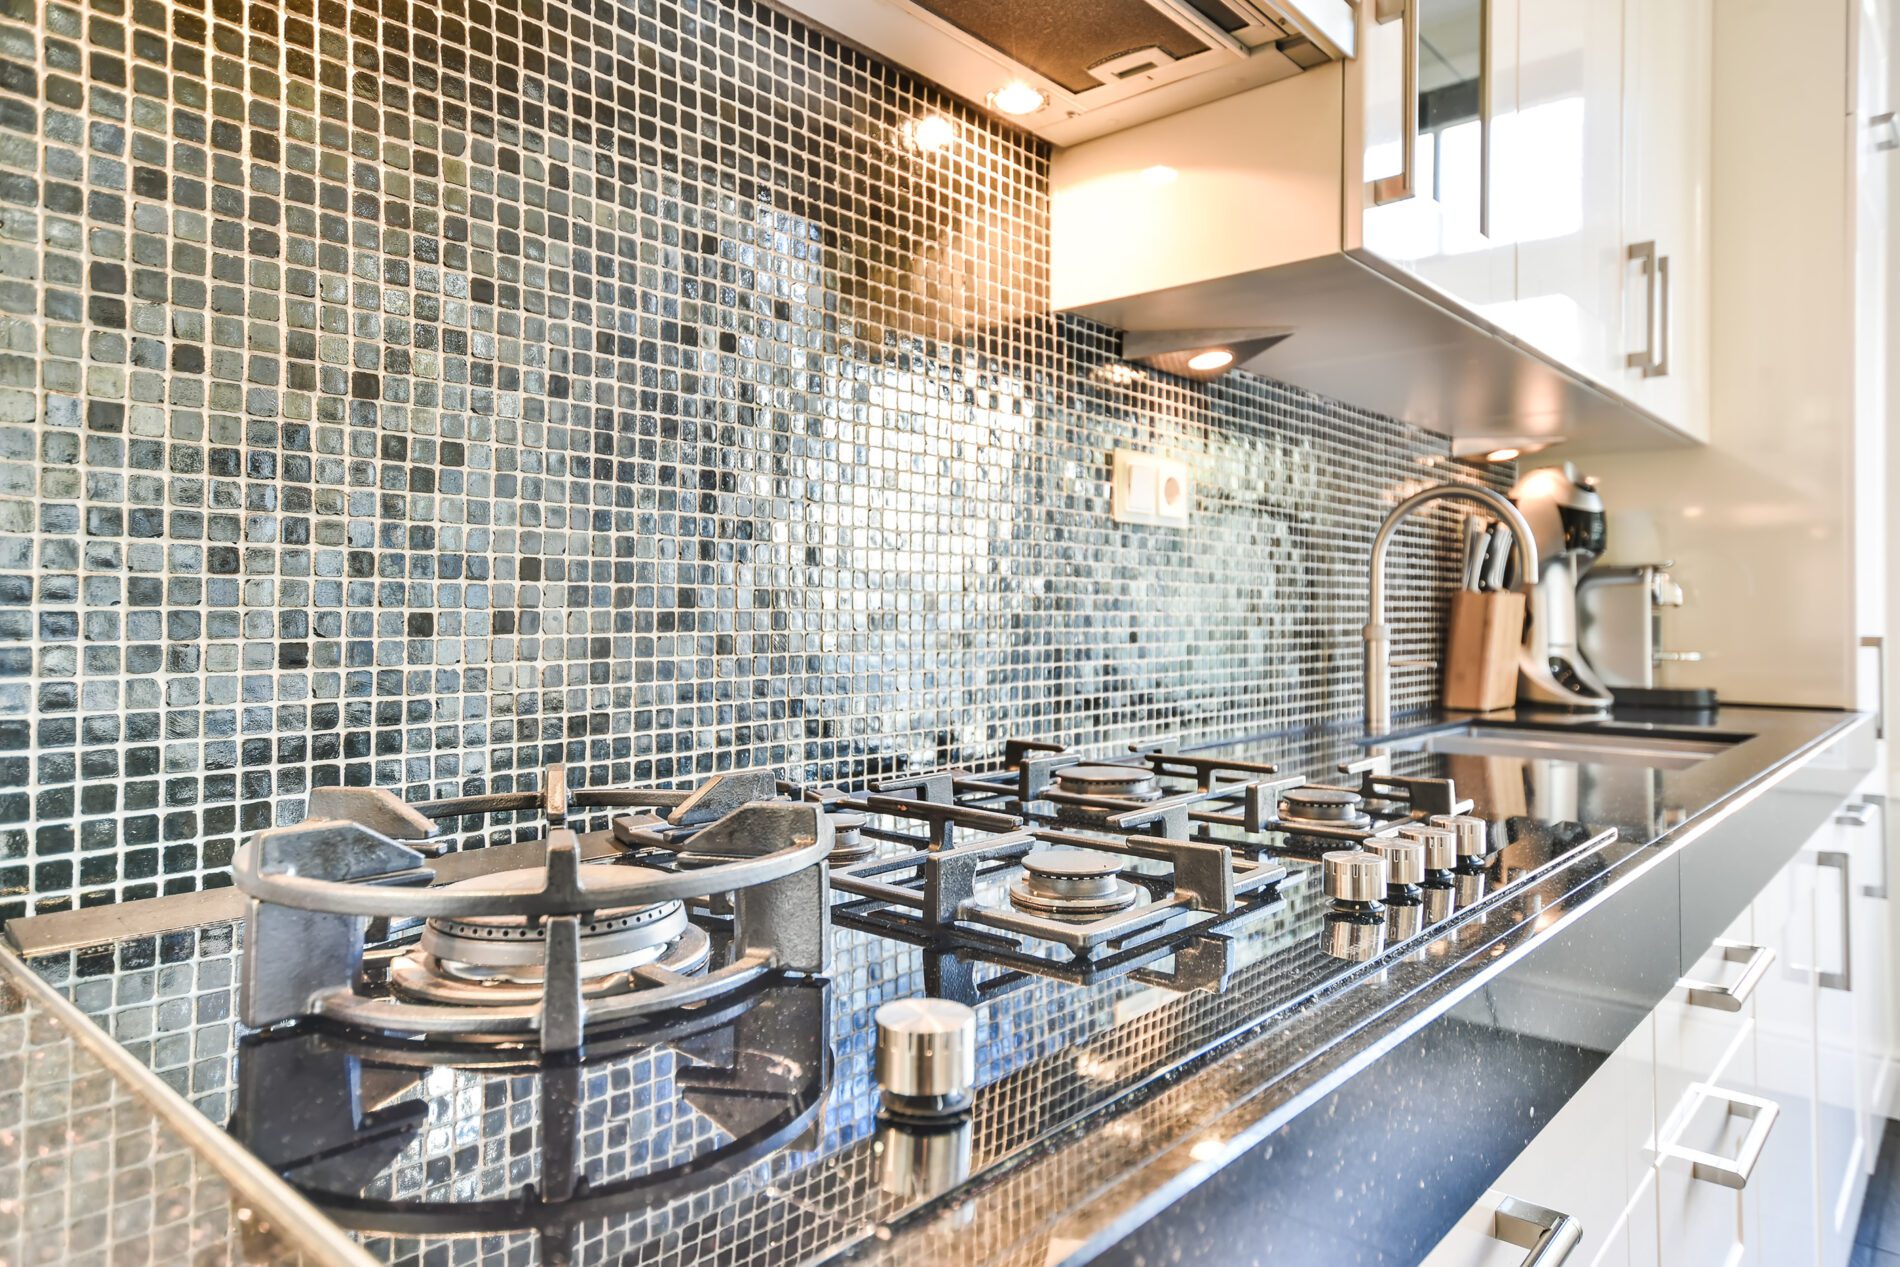
Understanding the Basics: What is a Backsplash and Its Purpose?
Backsplash installation is one of the best ways to improve your kitchen’s look and function. A well-installed backsplash protects your walls from spills and stains while adding a stylish element that ties your kitchen together. At Frisco Design Center, we know how important it is to choose the right backsplash for your kitchen, and we’re here to help you find the perfect fit.
A backsplash is a protective panel installed on the wall behind key areas in your kitchen, such as the sink, stove, or countertops. Its main job is to guard your walls against moisture, grease, and food splashes, which can cause stains and damage over time. But a backsplash does more than just protect. It also adds a stylish touch to your kitchen, helping to tie the entire look together. Whether you’re thinking about tile, glass, or stone, choosing the right material for your backsplash installation can make a big difference in your kitchen’s appearance and functionality. A well-chosen backsplash not only keeps your kitchen walls safe but also serves as a key design element that reflects your personal style.
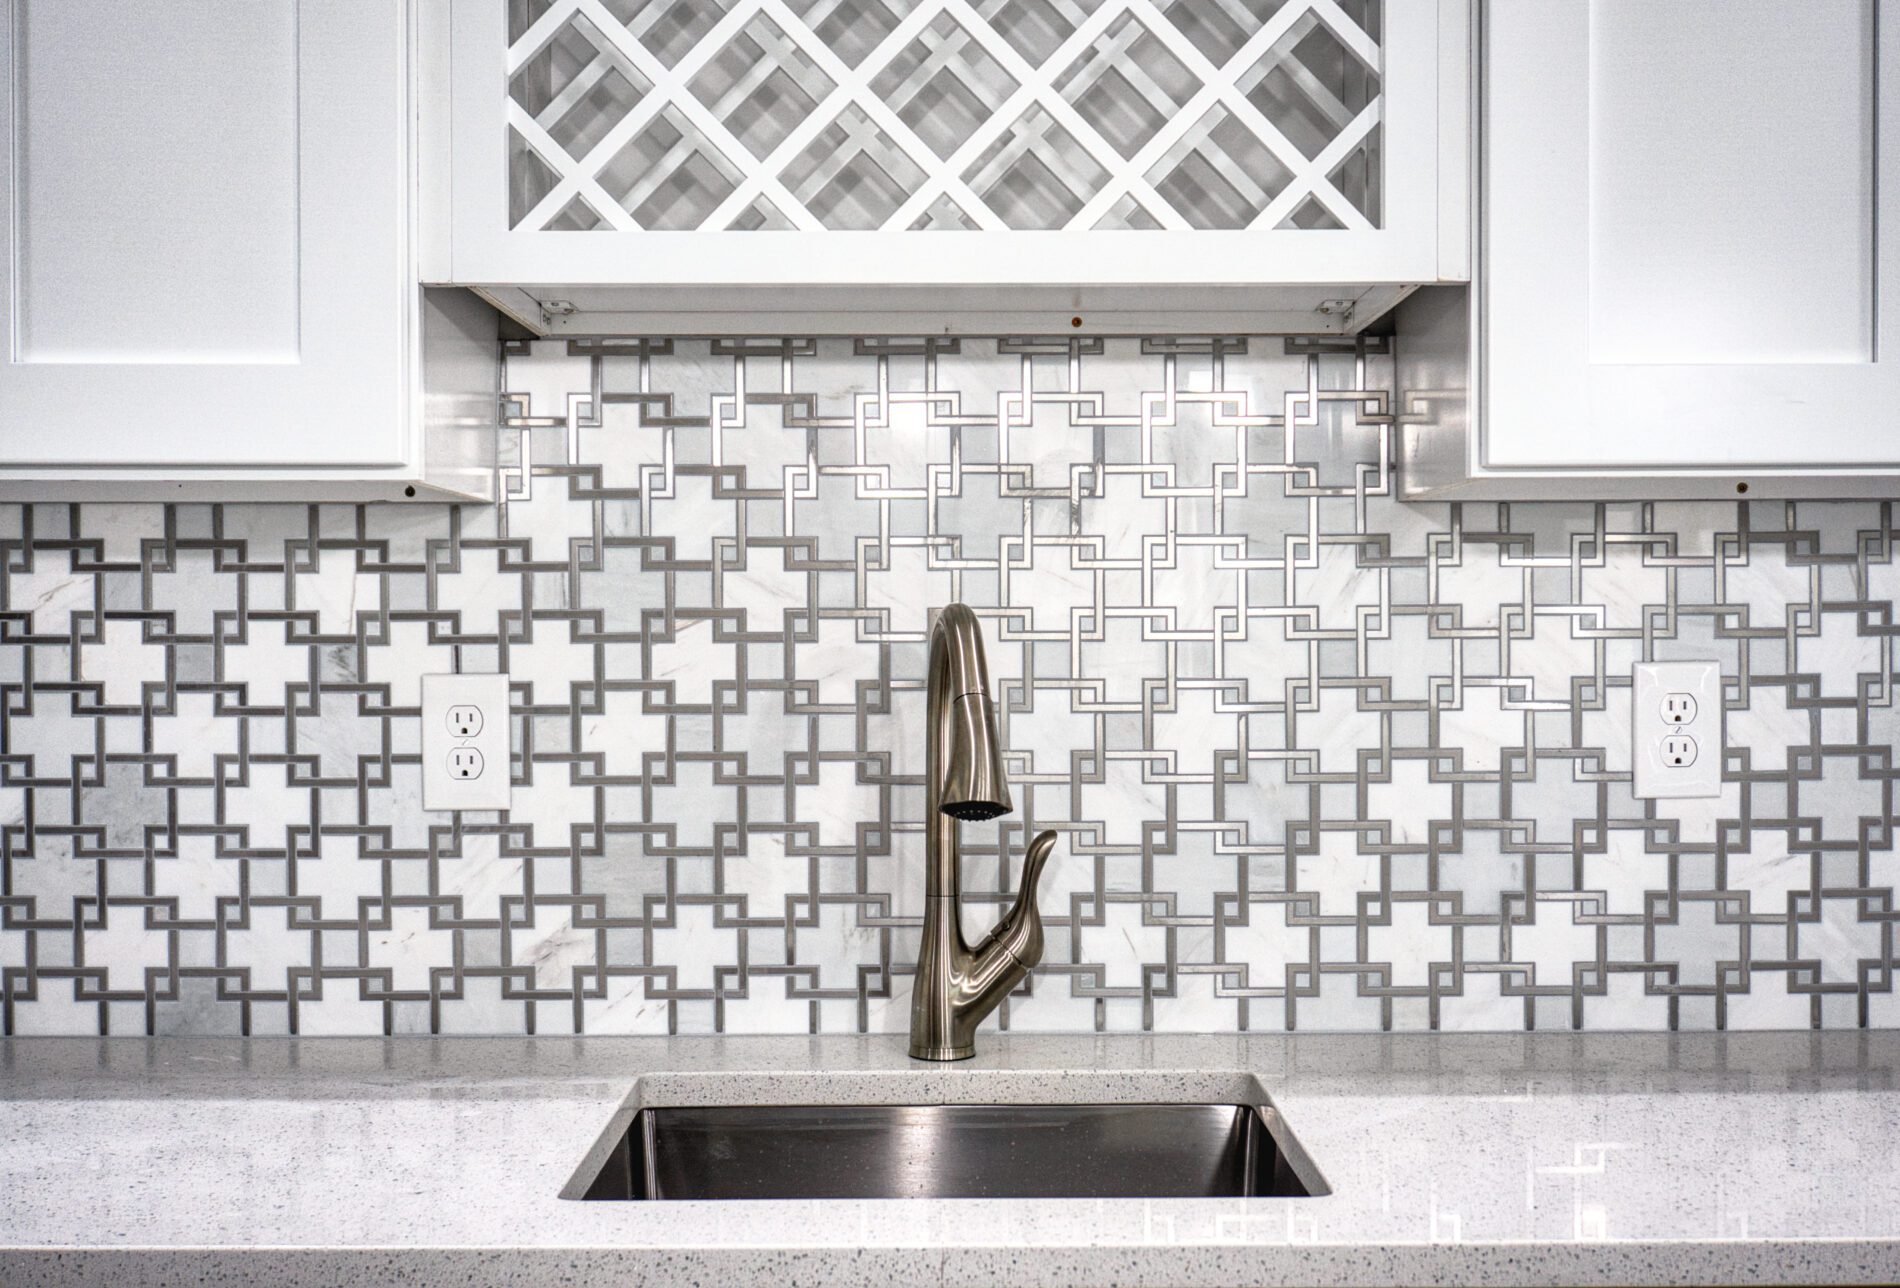
Choosing the Right Backsplash: Material Options and Considerations
When planning a backsplash installation, picking the right material is vital. The material you choose will affect how your kitchen looks, how easy it is to keep clean, and how long it lasts. Common choices include tile backsplash, glass, metal, and even wood.
A tile backsplash is a popular choice because it’s strong, comes in many styles, and is easy to clean. Tiles are great for protecting your walls from spills and heat.
Glass backsplashes are also loved for their shiny, modern look. They can make your kitchen feel brighter by reflecting light, but they do need careful handling during installation.
Metal, like stainless steel or copper, adds a unique touch and is very tough. It’s a good choice for backsplash installation behind the stove since it can handle heat well, though it might show fingerprints more easily.
Wood backsplashes can give your kitchen a cozy, rustic feel. However, wood must be sealed well to protect it from moisture and heat.
Each material has advantages, so consider what best suits your kitchen’s style and needs. At Frisco Design Center, we’re here to help you choose the perfect material for your backsplash installation.
DIY vs. Professional Backsplash Installation: What You Need to Know
Deciding whether to do your backsplash installation yourself or hire a professional comes down to your skills and the complexity of the job. DIY backsplash projects can be tempting because they might save you some money, and there are plenty of inexpensive kitchen backsplash ideas out there. If you’re handy and have some experience with tools, you might feel confident taking on a DIY kitchen backsplash project.
However, installing a backsplash isn’t as simple as it might seem. It requires careful planning, precise measurements, and the right tools like a trowel, mastic, and tile sheets. You’ll also need to know how to properly apply adhesive, cut tiles to fit around outlets and edges, and grout the gaps smoothly. Even small mistakes can lead to uneven tiles or gaps that can ruin the look of your kitchen backsplash.
On the other hand, hiring a professional like Frisco Design Center ensures that your backsplash installation is done right the first time. Professionals have the necessary experience and skills to address any issues that might pop up during the installation process. They can also help you choose the best materials and design for your kitchen, ensuring a flawless finish that enhances your home’s value. Plus, professional installation saves you time and stress, allowing you to enjoy your new backsplash without the hassle of doing it yourself.
If you’re considering a DIY tile backsplash project, be sure to weigh the potential savings against the time, effort, and risk involved. For a perfect result without the headaches, hiring a professional is often the better choice.
Step-by-Step Guide to DIY Backsplash Installation
- Measure the Area:
Measure the space for your backsplash to determine how much material you need. Account for outlets and fixtures.
- Choose Your Materials:
Pick tiles, adhesive, and grout that match your kitchen style. Tile sheets are great for beginners.
- Gather Your Tools:
Get a trowel, adhesive (mastic), tile cutter, spacers, sponge, and grout. Having all the tools ready will help the process go smoothly.
- Prepare the Wall:
You need to make sure that the wall is dry, clean, and smooth. Remove any old paint or wallpaper.
- Apply the Adhesive:
Spread adhesive thinly on the wall with a trowel. Start with a small area as the adhesive dries quickly.
- Set the Tiles:
Press the tiles into the adhesive, start in the middle then working outward. Use spacers to keep tiles even and level.
- Cut the Tiles:
Use a tile cutter to cut tiles for edges or around fixtures. Measure carefully before cutting.
- Let the Adhesive Set:
Allow the adhesive to set for at least 24 hours before continuing.
- Apply the Grout:
Remove spacers and fill gaps between tiles with grout. Use a grout float and wipe off excess with a damp sponge.
- Clean and Finish:
Once the grout dries, clean the tiles with a damp sponge to remove residue.
Following these steps will help you achieve a great-looking backsplash. Patience and meticulous work will lead to a professional finish.
Essential Tools and Supplies for a Successful Backsplash Installation
To ensure a smooth backsplash installation, having the right tools and supplies is key. Here’s what you’ll need:
- Trowel:
Use a trowel to even out the adhesive on the wall. A notched trowel helps create grooves for better tile adhesion.
- Tile Cutter:
A tile cutter helps you make precise cuts for fitting tiles around edges and obstacles.
- Level:
Keep your tiles straight with a level. This tool ensures your backsplash looks neat and even.
- Spacers:
Use spacers to keep gaps between tiles consistent. This helps achieve a professional finish.
- Sponge:
A sponge is handy for cleaning excess grout and keeping your work area tidy.
- Grout Float:
Spread and press the grout into spaces between tiles with a grout float for a smooth finish.
- Bucket and Mixing Paddle:
Mix grout and other materials in a bucket. A mixing paddle helps get the right consistency.
- Tape Measure:
Measure accurately to ensure tiles fit perfectly and to know how many you need.
- Safety Gear:
Wear protective gloves and goggles to keep dust and debris from getting into your hands or eyes.
- Tile Adhesive (Mastic):
Choose the right adhesive for your tiles to ensure they stay in place.
- Grout:
Fill gaps between tiles with grout to lock them in and prevent moisture damage.
- Caulk:
Seal the edges of your backsplash with caulk to prevent water damage.
With these tools and supplies, you’ll be ready for a successful backsplash installation.
Backsplash Installation: Common Mistakes to Avoid
Installing a backsplash can be tricky if you’re not careful. Here are some mistakes to avoid:
- Not Preparing the Wall:
Ensure the wall is clean and smooth before starting your backsplash installation. Dirt or old adhesive can affect how well your tiles stick.
- Incorrect Measurements:
Measure the area accurately to avoid cutting tiles incorrectly. Check your measurements twice to ensure a proper fit.
- Using the Wrong Adhesive:
Choose the right adhesive for your backsplash material. Using the wrong type can cause the tiles to fall off.
- Skipping Spacers:
Spacers help keep tiles evenly spaced. Don’t skip this step to avoid uneven grout lines.
- Rushing the Grouting Process:
Apply the grout carefully, and clean up any excess with a sponge. Don’t rush this step to ensure a clean finish.
- Not Using a Level:
Check the tiles’ alignment with a level. Even small tilts can affect the overall look.
- Ignoring Expansion Gaps:
Leave a small gap between the tiles and the countertop. Fill this gap with caulk to allow for movement.
- Skipping Sealant:
Apply a grout sealant after the grout dries to prevent stains and keep your backsplash looking new.
Avoid these mistakes to ensure a successful backsplash installation. Whether doing it yourself or working with professionals like Frisco Design Center, these tips will help you achieve a great result.
Simple Backsplash Ideas for an Instant Kitchen Update
If you want to update your kitchen quickly and easily, try these easy back splash ideas. They give you a chic upgrade with little effort.
- Peel-and-Stick Tiles:
These are a great option for a fast backsplash installation. The tiles are easy to install; just remove the backing and press them onto the wall. They come in various designs and are easy to remove if you want a change later.
- Pre-Made Tile Sheets:
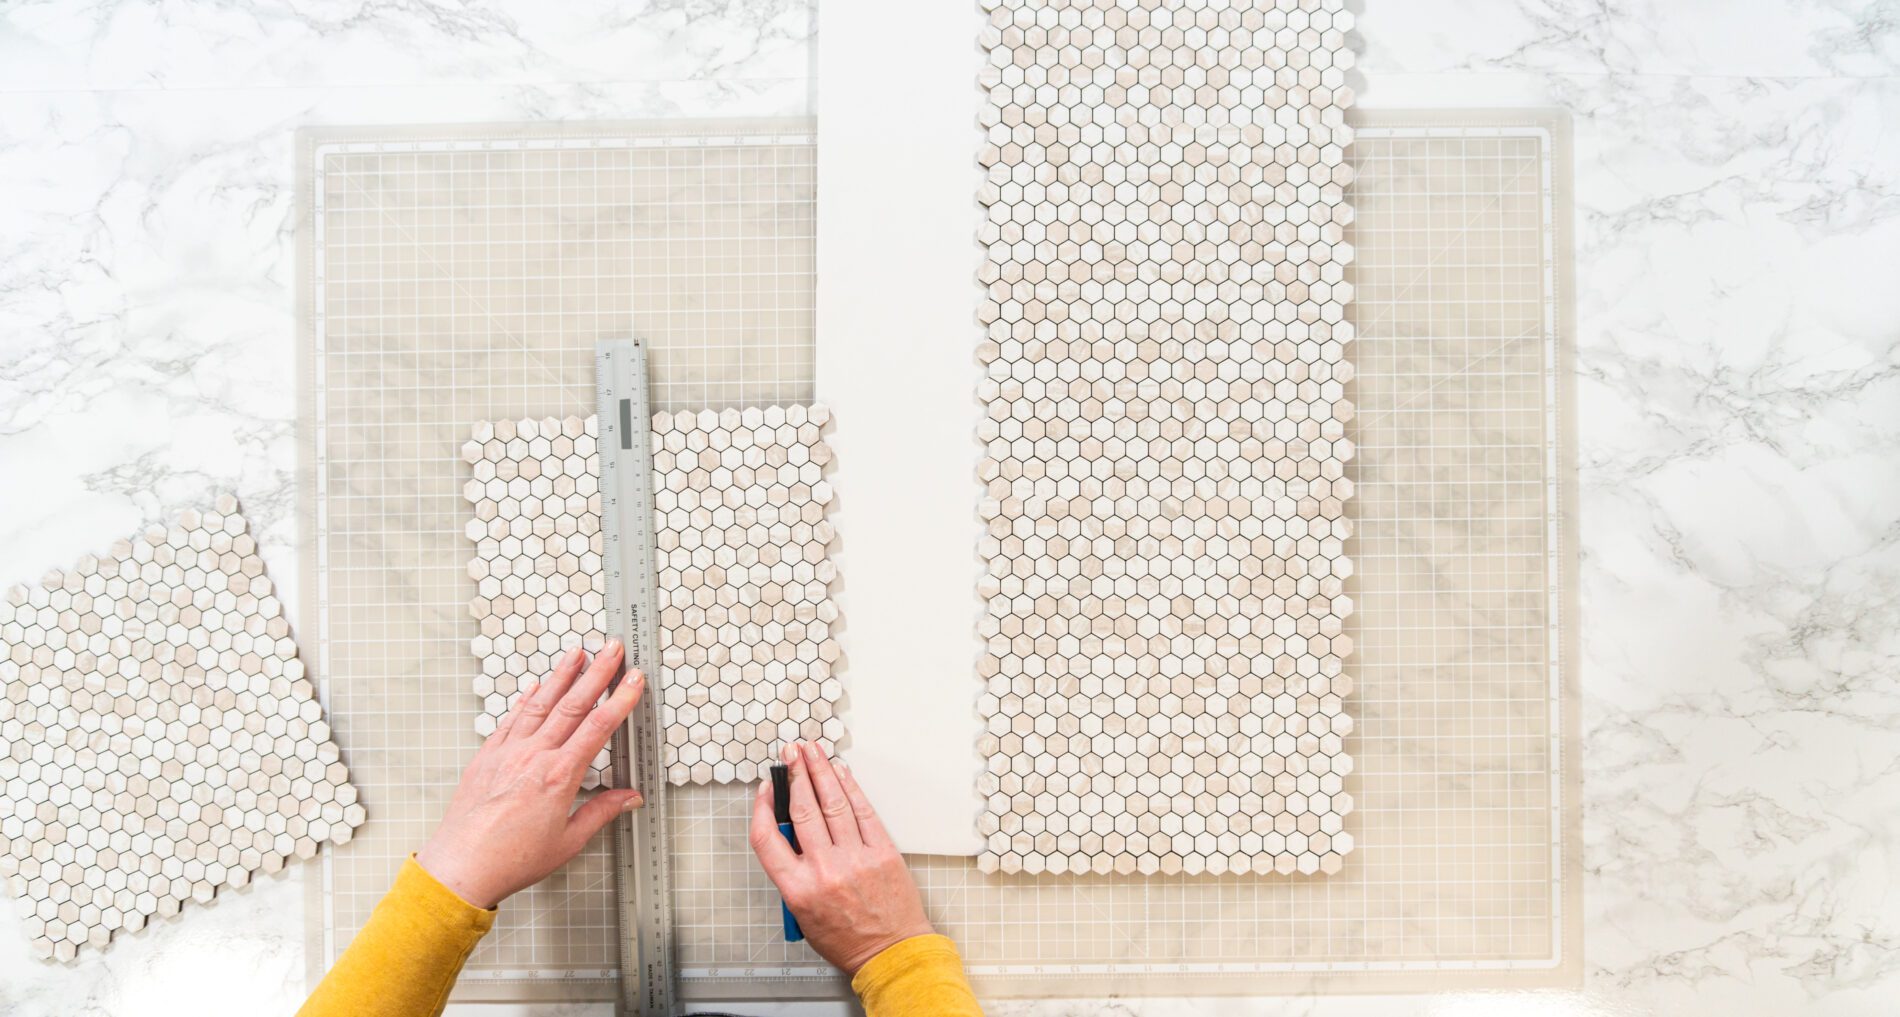
Pre-made tile sheets are another easy backsplash choice. They come in ready-to-install sheets that you can apply directly to your wall. This makes installation faster and less messy.
- Easy Glass Tiles:
Glass tiles give a modern touch and are easy to clean. They come in various colors and patterns, making matching your kitchen’s style simple.
- Subway Tiles:
Classic white subway tiles are elegant and easy to install.
They work well in any kitchen and are available in various colors and sizes.
- DIY Backsplash Kits:
Consider DIY kits that include everything you need for a quick installation. These easy diy backsplash kits often come with easy-to-follow instructions and pre-cut tiles.
- Easy Mosaic Patterns:
Mosaic tiles offer a decorative look with minimal effort. They come in pre-arranged patterns that make back splash installation simple.
These tiling backsplash ideas are perfect for updating your kitchen without a full renovation. Whether you choose peel-and-stick tiles or pre-made sheets, these options are budget-friendly and easy to install backsplash.
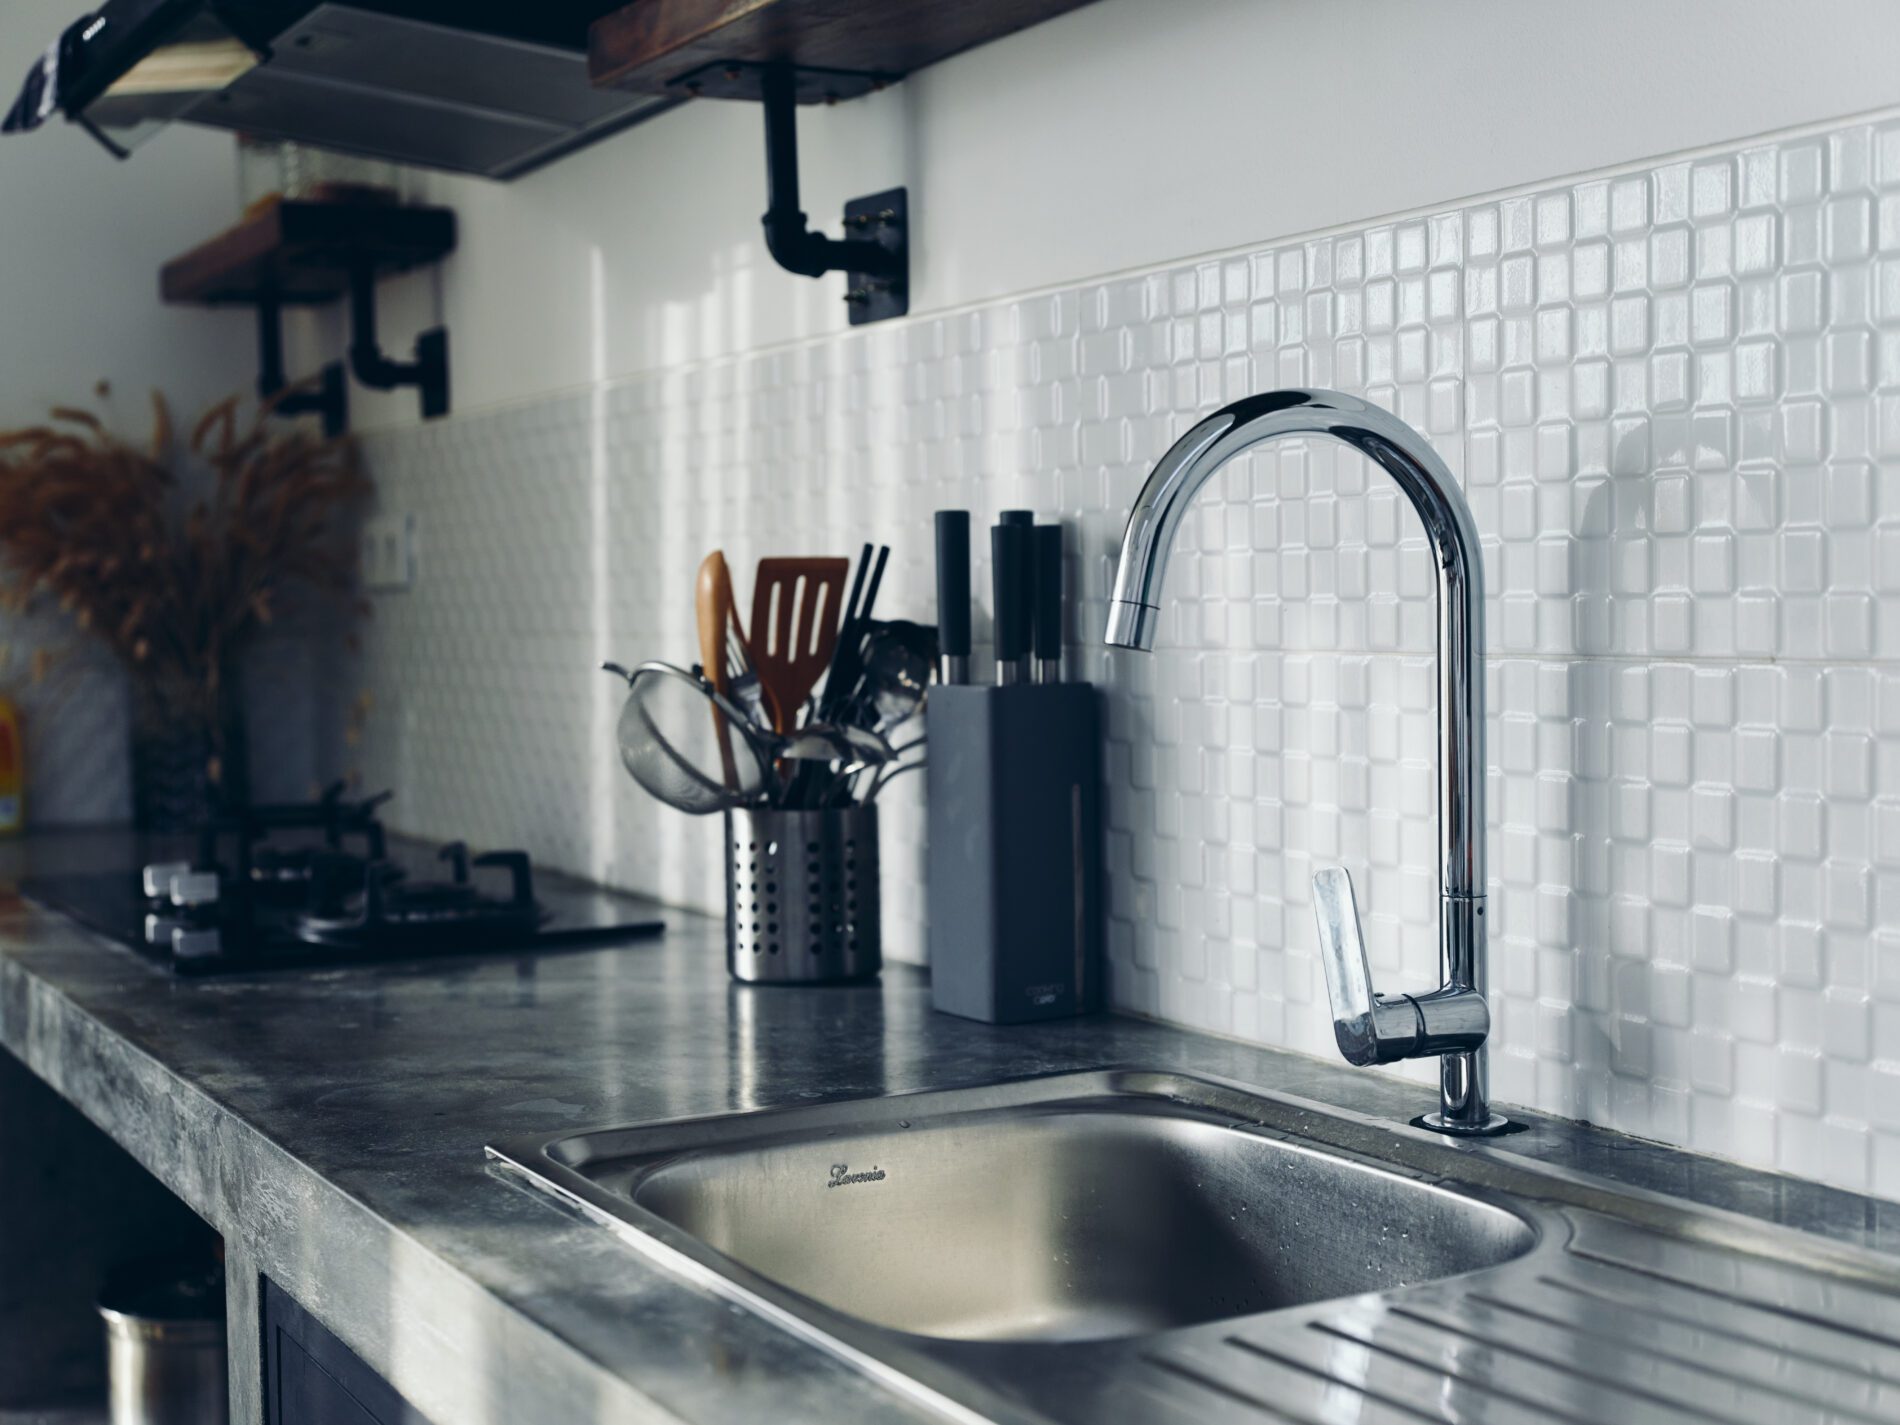
Innovative DIY Backsplash Ideas to Inspire Your Next Project
If you’re looking to get creative with your kitchen, here are some DIY kitchen backsplash ideas to try:
- Reclaimed Wood:
Use old wood for a rustic look. Arrange it in patterns like herringbone for a unique touch.
- Bold Tile Patterns:
Try bold designs or colors with tiles to create a standout backsplash.
- DIY Mosaic Tiles:
Make your own mosaic with small tiles for a custom design.
- Tin Panels:
Install decorative tin panels for a vintage or industrial feel.
- Chalkboard Paint:
Use chalkboard paint for a fun, writable backsplash.
- DIY Peel-and-Stick Tiles:
Personalize peel-and-stick tiles with your own designs.
- Mirror Tiles:
Install mirror tiles for a modern, reflective look.
- DIY Stencil Patterns:
Add patterns with stencils on a painted backsplash.
- Upcycled Materials:
Repurpose items like old plates or bottles for a creative backsplash.
- Easy Vinyl Decals:
Use vinyl decals for simple, changeable designs.
These DIY ideas allow you to create a one-of-a-kind backsplash that fits your style and budget.
How to Maintain and Repair Your Kitchen Backsplash
After your backsplash installation, proper care will keep it looking great. Here are easy kitchen backsplash repair and maintenance tips:
- Regular Cleaning:
Clean your backsplash with a sponge and mild detergent. This helps remove dirt and prevents grime buildup.
- Avoid Harsh Chemicals:
Use gentle cleaners to avoid damaging the tiles or grout. Harsh chemicals can strip the finish or discolor the grout.
- Repairing Damaged Tiles:
If a tile gets cracked or chipped, you can often replace it without removing the entire backsplash. Carefully remove the damaged tile, apply new adhesive, and set a replacement tile.
- Regrouting:
Over time, grout may need to be refreshed. Apply new grout to any areas that look worn or cracked to maintain a clean, seamless look.
- Check for Moisture:
Ensure there are no leaks or moisture behind the backsplash, as this can lead to mold and damage. If you detect any issues, you must address them immediately.
- Professional Help:
For more complex repairs or maintenance, Frisco Design Center can provide expert advice and services to keep your backsplash in top shape.
By following these steps, you can ensure your kitchen backsplash stays attractive and functional for years to come.
Cost Considerations: Budgeting for Backsplash Installation
When planning your backsplash installation, keep these key points in mind:
- Material Costs:
Prices vary based on materials like tile, glass, or metal. Tile backsplashes are often more affordable than glass or custom options.
- DIY vs. Professional:
DIY can save on labor but requires time and tools. Professional services from Frisco Design Center ensure a top-notch finish and might be worth the extra cost.
- Additional Expenses:
If you’re doing it yourself, be sure to budget for grout, adhesive, and tools. Professionals may include these in their prices.
- Long-Term Value:
Adding a great backsplash to your home can increase its value and longevity.
Frisco Design Center offers various options to fit different budgets, helping you get the best value for your backsplash installation.
Why Choose Frisco Design Center for Your Backsplash Installation
Choosing the right team for your backsplash installation is crucial. Here’s why Frisco Design Center is a great choice:
- Expert Team:
We have the experience and skills to ensure your backsplash is installed perfectly.
- High-Quality Results:
We use top materials and techniques to deliver a great finish.
- Personalized Service:
We listen to your ideas and work to meet your style and budget.
- Professional Installation:
Our team handles everything from beginning to end, making the process simple for you.
- Ongoing Support:
We offer tips and help to keep your backsplash looking its best.
Choose Frisco Design Center for a smooth and successful backsplash installation.
Wrap Up
A well-chosen and professionally installed backsplash can transform your kitchen, adding both style and safety. Whether you’re considering a DIY project or hiring a professional, understanding your options and planning carefully is key to achieving the best results.
Our team handles everything from beginning to end, making the process simple for you.
Frequently Asked Questions
What does a kitchen backsplash do?
A kitchen backsplash safeguards your walls from spills and stains while adding style. At Frisco Design Center, we help you choose the best option for your kitchen.
How do I pick the best backsplash material?
The right material depends on your style and needs. Tile is durable and easy to clean, glass adds shine, and metal offers toughness. Frisco Design Center can guide you through the choices.
Should I do my kitchen backsplash installation myself or hire a pro?
DIY installation is a way to save money, but it is challenging. For a perfect backsplash, hiring a professional like Frisco Design Center ensures a smooth and accurate job.
What are common mistakes in backsplash installation?
Avoid mistakes like incorrect measurements and skipping spacers. These can lead to uneven tiles. For best results, consider professional installation from Frisco Design Center.
What’s the right way to care for my tile backsplash?
Clean your backsplash with mild soap and avoid harsh chemicals. If tiles get damaged, you can replace them or regrout as needed. Frisco Design Center is here to assist you. Contact us today.
